Sunday, September 25, 2022

Drill Press Tool Holder


Drill Press Tool Holder with Quick Release


 Here is a drill press accessory that allows you to keep your "go-to" bits and accessories out in the open, mounted to the drill press column. Additional holes are marked and can be enlarged as needed.  


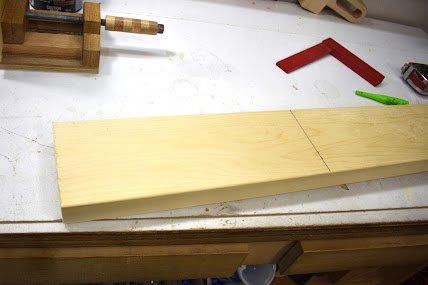
To start I use a 2x6 and cut it to length of 14 inches, and after cleaning the sides with the table saw the width is 5 inches.


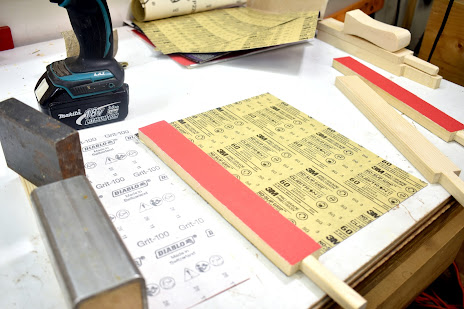
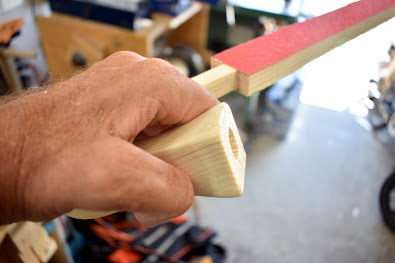
To make it look better I beveled one end, then rounded the corners on end and hand sanded the edges.


Here is the layout for the bolts. They are both five inches, one carriage and one lag bolt.


Measuring the drill press column (2 1/2") to be transferred  to the block. 


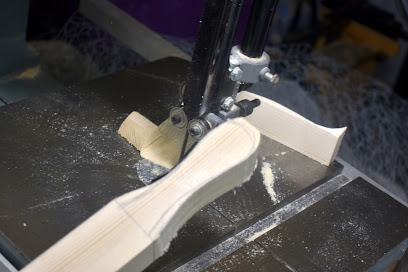
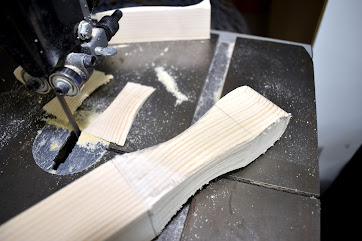
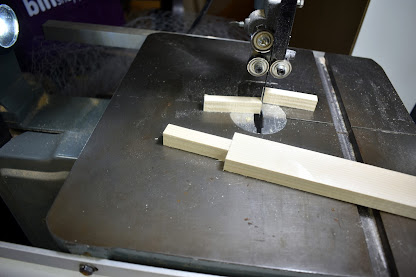
Rather than using a hole saw or large Forstner bit careful cutting with the bandsaw will give you good results.


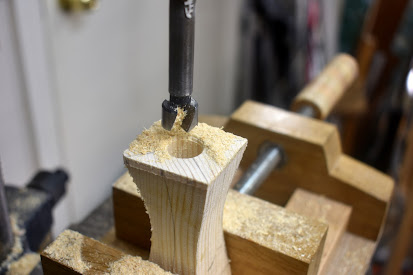
The small piece is first drilled on the drill press then clamped together and further drilled, this is easier than drilling the whole piece and will keep things straight. When one side is drilled you can put a drill bit inside the hole, this will keep everything aligned.


                     Two notches are dado cut on the table saw this is the exact width of the bolt.                                  A  table saw sled is best for this.


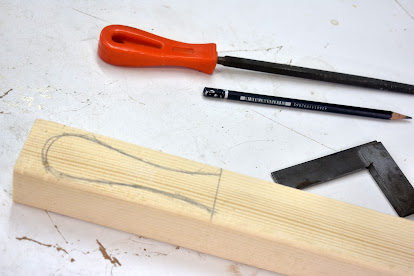
Here is the lever, I just drew something rough and then shaped it slowly and cleaned it up with the sander.


The hole is drilled off centre to make the clamping mechanism.


I hade to do a few tests. I first made it larger than it had to be then shaped it slowly to get the right position for locking. It did not take to long. 


I picked out some of the bits and tools I would use, then drilled additional small holes for other bits later. This keeps things neat and tidy. They can be enlarged when needed.


See Also:


           Mini speed square                                                                                                    
        Jigsaw table                                                                                               


Friday, September 2, 2022

Wood Files with Handle


Looking at my metal files I thought why not make the same but for wood. Wood files with  a wood handle, they can be easily exchanged for the different grits of  any paddle. Easy to make and store and they work excellent!  

 
 To make the paddles I used 2x4's they are inexpensive and will work fine.  Sandpaper comes in sheets 9"x 11" . The length of the wood strips are 13 inches. They are 1.5 inches wide and 1/2" thick.                                               

To make the handle I traced a metal file handle onto a block and cut it out on the bandsaw. Always cut outside the lines so you can refine later.


Careful shaping was done on the bandsaw. Drawing lines of centers helps a lot. Filing the edges round  and sanding will give you a nice smooth handle.  


c


The handle was cut on the table saw with a sled,  this will ensure that everything keeps square. If you don't have a sled mark each side and carefully cut with a handsaw.


The handle was drilled using a 1/2" bit. The depth is 2 1/2 ". Make sure drilling is square or the paddles will sit crooked. You can also drill the blank before shaping which is probably easier. 

The paddle is now cut on the bandsaw, the piece extruding  is 1/2" by 1/2 inch and 2/1/2" long. The edges can be taken off using a metal file or sander. As you take away wood make sure to check regularly to make sure you get a snug fit. 

Different grits of sandpaper are now glued onto the wood. I used 60, 120, and 220. Wood glue was used for the sandpaper. After they were dried a utility knife was used to trim them. 


The sandpaper file can now be pushed into the handle. It is friction fit and should be firm, all the ones I made were a solid fit.
After testing it out it worked so well wonder why it took me so long to come up with this idea.