.jpg)
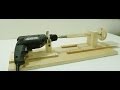
.jpg) A wood screw tap is handy when you have to install screws in hard wood or when the pilot hole in not quite right. The tap can be used to make internal threads making it easy to install the screws.
A wood screw tap is handy when you have to install screws in hard wood or when the pilot hole in not quite right. The tap can be used to make internal threads making it easy to install the screws.I use it for some projects when I have to repeatedly tighten and loosen a piece, it makes things easy.
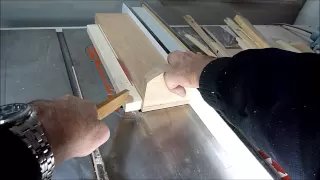
A piece of hardwood will split if it is not predrilled.
Here is a sample, one side was drilled and tapped and the other side I just turned in a screw and it split right away. The split side will have no strength at all.
.jpg) To start I used a 3/16" drill bit for the pilot hole for a #14 x 3 1/2" wood screw.
To start I used a 3/16" drill bit for the pilot hole for a #14 x 3 1/2" wood screw.
After a pilot hole is drilled I will make the screw tap.
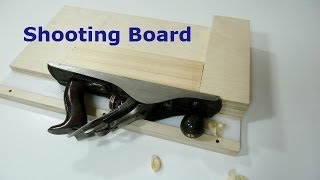
.jpg) To make the tap I just grind two sides of the screw on my sander giving the screw some teeth ready for cutting.
To make the tap I just grind two sides of the screw on my sander giving the screw some teeth ready for cutting.
.jpg)
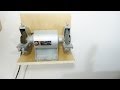
The screw should be held with pliers and supported on the base.
.jpg)
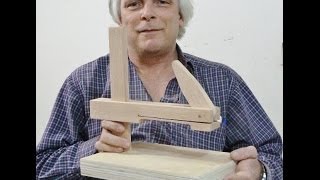
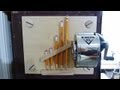
Here is the screw tap and a regular screw in some hardwood.
+(2).jpg) The piece of wood is oak hardwood 2x4 and when the tap is used it creates threads and the 3 1/2" screws turns in really nice even by hand.
The piece of wood is oak hardwood 2x4 and when the tap is used it creates threads and the 3 1/2" screws turns in really nice even by hand.
.jpg)
.jpg) Here is another piece I tried in hardwood with shorter screws. First I drilled a pilot hole, ground down a tap and turned in a screw.
Here is another piece I tried in hardwood with shorter screws. First I drilled a pilot hole, ground down a tap and turned in a screw.
To start I used a 3/16" drill bit for the pilot hole for a #14 x 3 1/2" wood screw.After a pilot hole is drilled I will make the screw tap.
The screw should be held with pliers and supported on the base.
Here is the screw tap and a regular screw in some hardwood.
The piece of wood is oak hardwood 2x4 and when the tap is used it creates threads and the 3 1/2" screws turns in really nice even by hand.Here is another piece I tried in hardwood with shorter screws. First I drilled a pilot hole, ground down a tap and turned in a screw.
I tried the tap on some softwood but it was not necessary although a pilot hole is always important so the wood does not split.
Picture Frame French Cleats on Steroids Pencil Sharpener Mount
.jpg)
.jpg)
.jpg)
.jpg)
.jpg)
.jpg)
.jpg)
.jpg)
.jpg)
.jpg)