Sunday, November 27, 2022

Fork N Wood


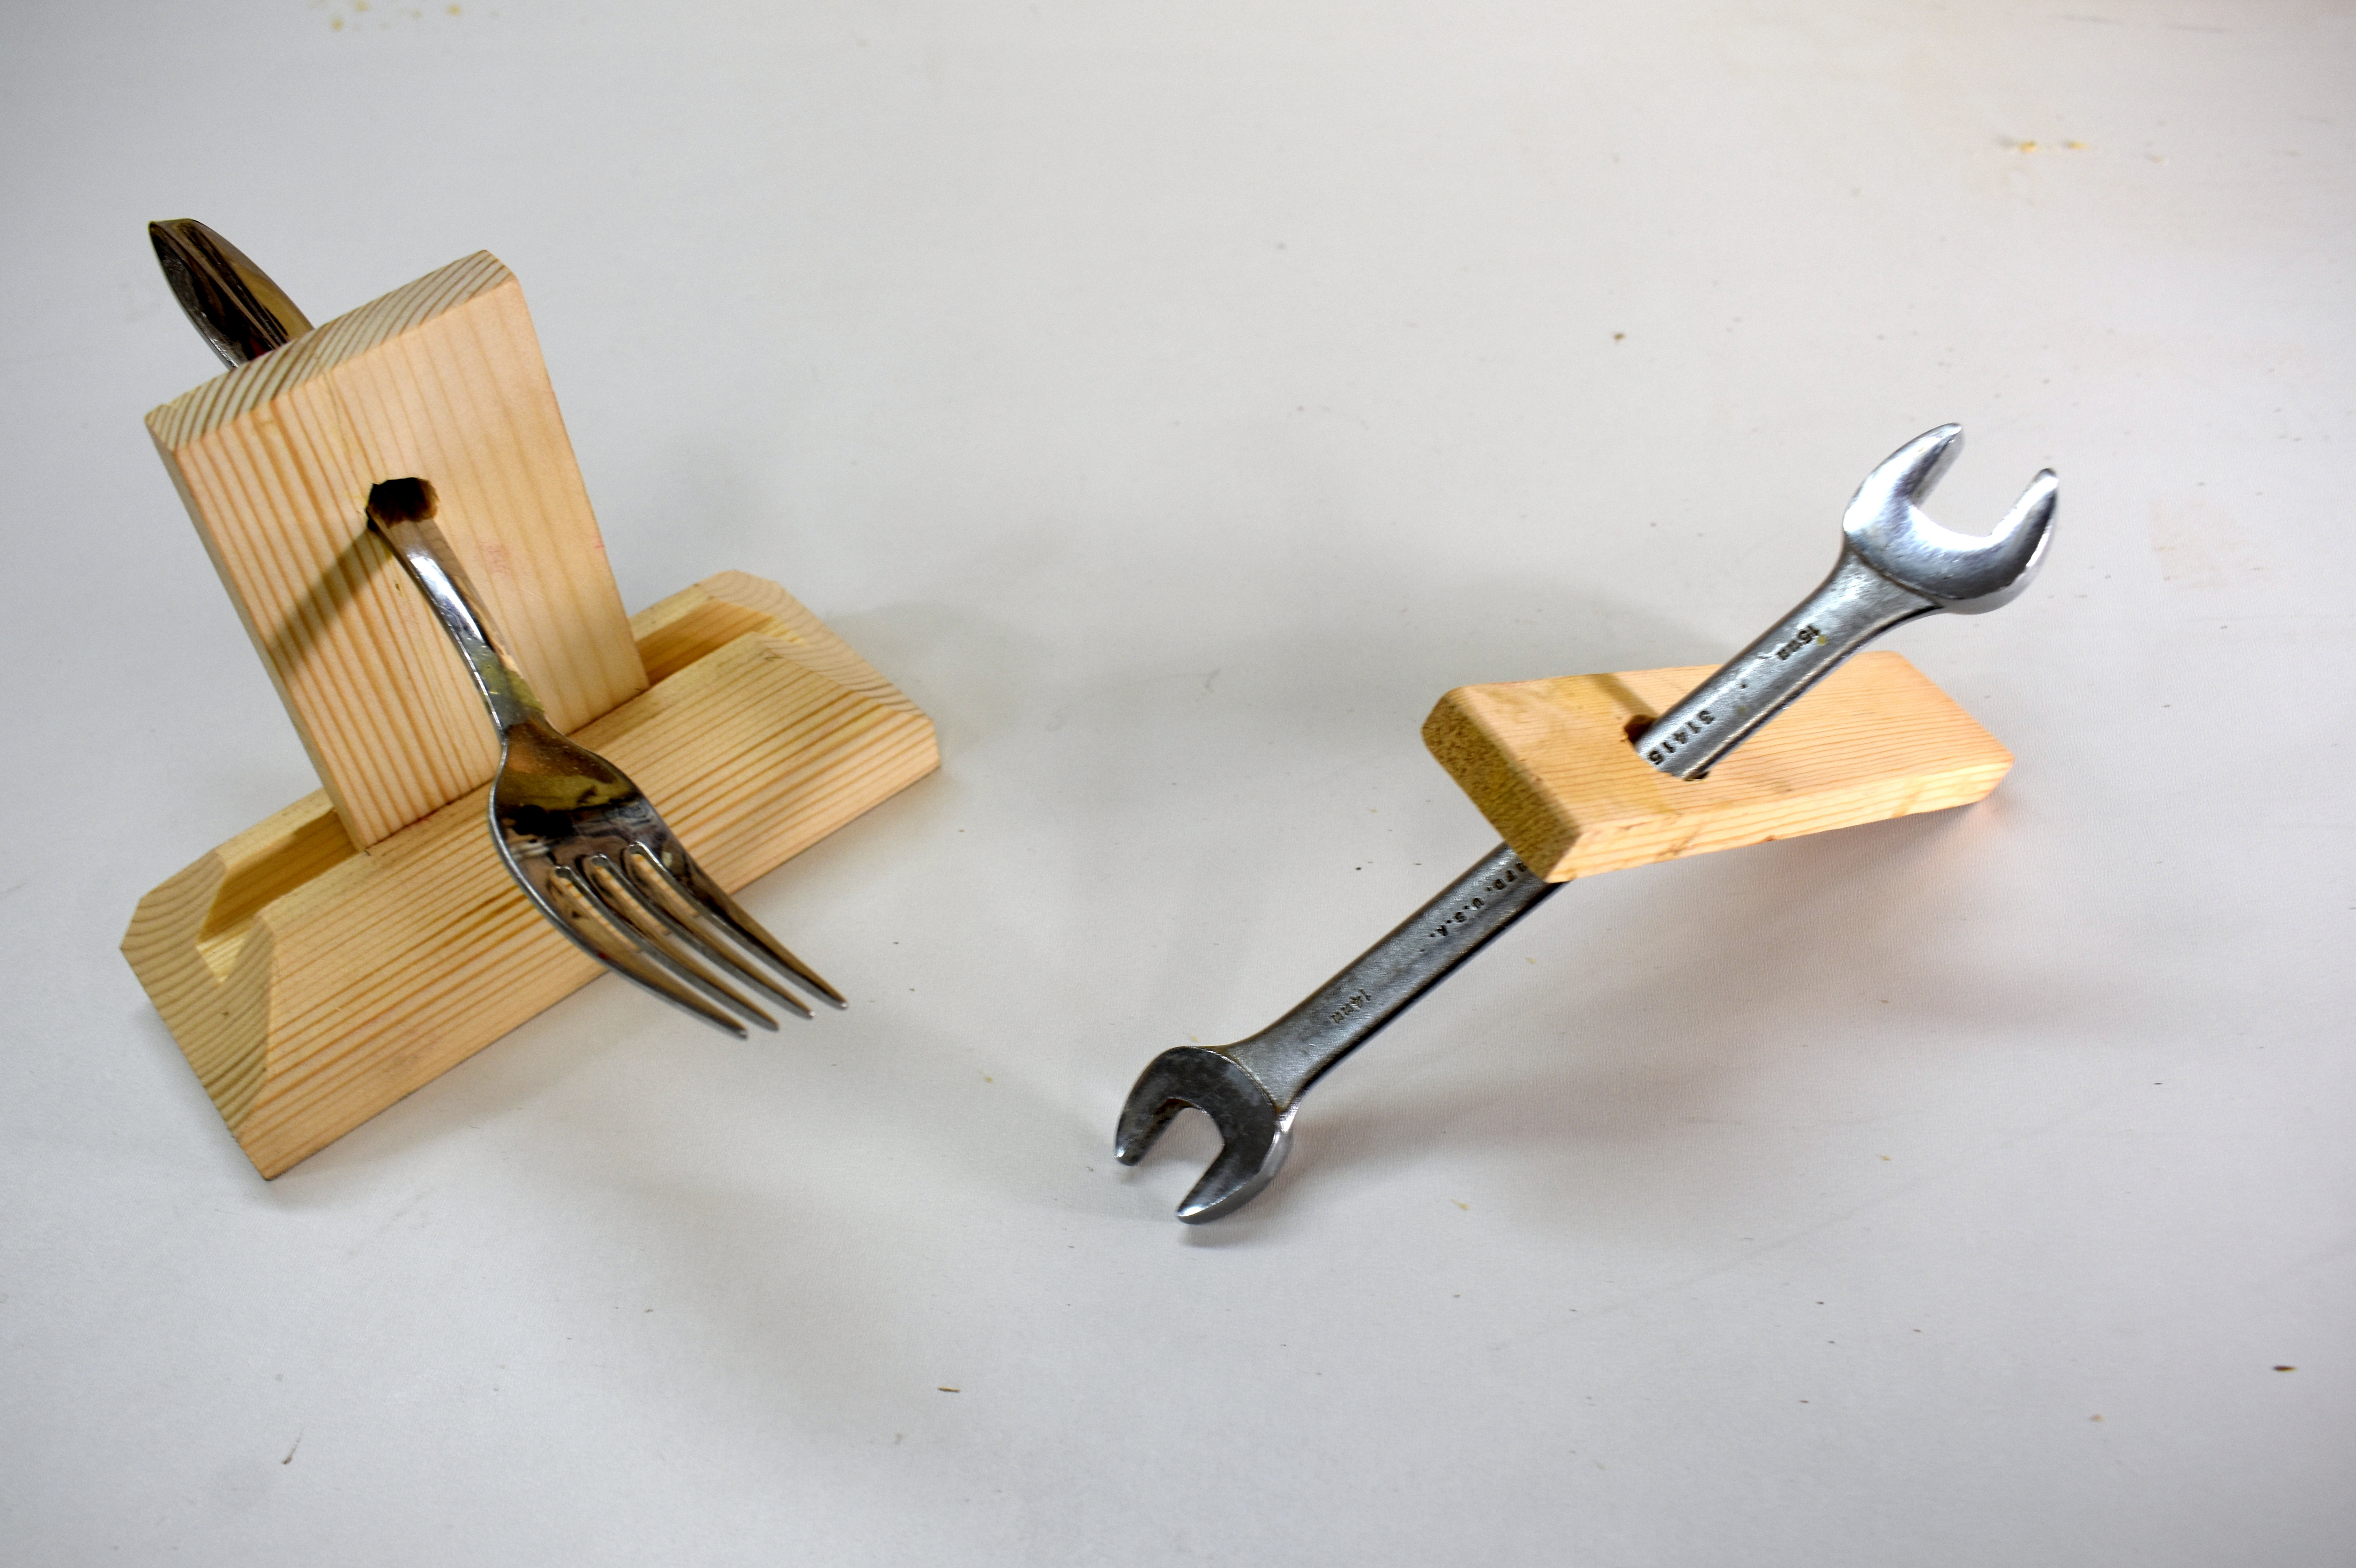
          Here is my Fork in Wood, I also made a wrench in wood. When you are finished your friends will keep guessing on how it was made, unless they watch the video. I have one on my desk and people walk by and don't get it, lol. 

          With good woodworking skills and materials you can make one too. 
          Lining in up properly and gluing it tight will hopefully give you a 
          flawless piece.              


      This was my first quick attempt and I was so pleased how it turned out I could not see and crack lines.


      To start I just used some regular 2x4's, I made sure there were very few knots or if I was lucky none at all.  I cut a few extras so I would have lots to work with.


              I cut them roughly 2 1/2"x 4" and 1/2" thick using my new pushsticks . 
              Any size would work, whatever looks best.


                    Next step is to put them in the vice, and the big reveal is to snap them. I used a  block and a hammer and hit it hard enough to snap in half. Hopefully it will break along the grain.


                Here I got my caliper and measured the thinnest part of the 
                 fork handle and matched it with the right size drill bit.


                      When I clamped the two pieces together I could not even see the
                       crack line so I had to take it apart and make a mark so I knew where 
                      to drill.


                        Here the piece is held with my hand and you can not see any lines at all.


                             Careful clamping is done  to make sure everything is lined up and                              tight together.


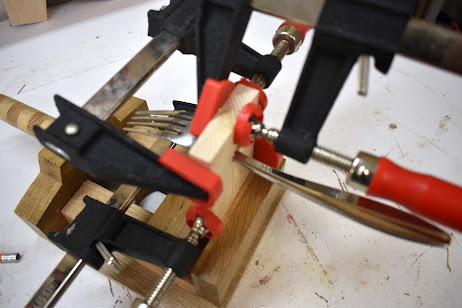
                                The wrench is clamped and looks messy with the glue squeeze out 
                                but that is fine. After it was sanded it turned out flawless with no                                            evident lines.


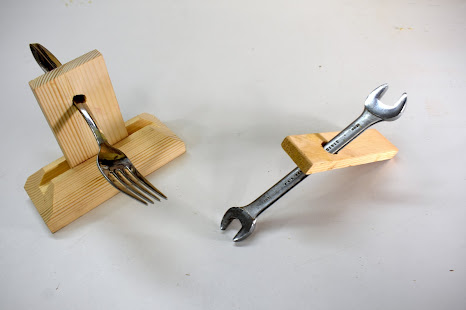
                        I used another piece of 2x4 to make the base. First I dado 
                         cut the centre  and 45 degree angle cuts for the sides.  


             See Also


                                    Wood ring through glass bottle video! Check this one 
                                 out, I put a oak ring through a glass bottle.


Sunday, November 13, 2022

 Push Sticks with Notches


I made a set of push sticks that I have been testing out and like the design, and the colour. They are 3/8th inch thick but I will make a new set that is 3/4 inch. They will be stronger and better for safety. As for the colour, they look cool and I will never loose them in my cluttered shop.

They have two notches, one to hold the wood firm against the fence and the other notch to hold the wood flat so it doesn't flip up. 


This is the first one I made, it looks good and works good but it should be stronger.

I traced my original onto 3/4 inch plywood and made a few modifications. I also traced a few extras so I would have spares since they do get chewed up on the table saw.


The easiest way is to first cut them with the jigsaw then clean them up on the bandsaw.
After they are cut I used some 150 grit sandpaper to smooth the edges, this is all you need. You can router if you like but sanding by hand is fast and will give you a comfortable feel.


A quick spray booth was made using some cardboard and a frame was made with some scraps.
Some I-hooks are put in the push sticks. Two holes were drilled in the frame for  two wires. They are loose and can be easily rotated for spray-painting 


After some primer tape was put on the pieces pieces. They  were put on randomly, whatever I thought looked cool, then proceeded with black paint.


After the black I taped it again and then painted the red.


Here is the final push-stick. I like the notches for keeping the wood firm to the fence and flat on the table. Its a good idea to trace out a few extras right away since they will get chewed up. 

After a few test cuts I am happy the way they turned out.


See Also 


                    Make a try-square                                                                                                            
                     Mini speed square