
.jpg&container=blogger&gadget=a&rewriteMime=image%2F*)
+(2).jpg)
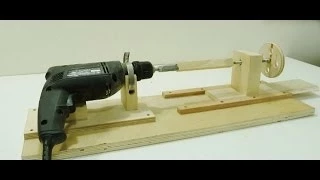
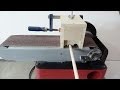
.jpg&container=blogger&gadget=a&rewriteMime=image%2F*) I had a screwdriver that fell apart so I decided to make a new handle for it with my new mini lathe. It was a multi driver with many bits so I thought it would work fine for the shop.
I had a screwdriver that fell apart so I decided to make a new handle for it with my new mini lathe. It was a multi driver with many bits so I thought it would work fine for the shop.
I used Purple heart for the handle. It is an extremely dense wood regarded as one of the
hardest and stiffest varieties in the world. I did not know how hard it was but
I did found out right away. A little bit of research and experience with purple
heart has taught me that when the wood is exposed to ultraviolet light it’s
colour alters to that of a darker brown with a small purple tinge as it
originally has. If the Purple Heart spends more time in the light the colour
may alter from light to dark purple.
.jpg)
.jpg&container=blogger&gadget=a&rewriteMime=image%2F*)
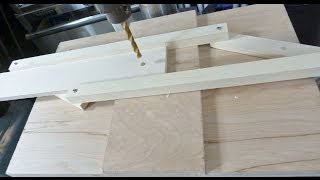
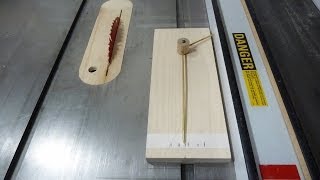
I used a small saw to remove the waste from the handle and applied a small amount of Epoxy to attach the hollow stem and the ferrule.
.jpg&container=blogger&gadget=a&rewriteMime=image%2F*)
.jpg&container=blogger&gadget=a&rewriteMime=image%2F*)
.jpg)
For the finish I used CA glue. This type of glue hardens quickly, and in no time the screwdriver was ready to use!

This is a great example of how to turn something old into something new, and a great excuse to use my new my lathe and some cool wood. Check out the video on how to make a multi- bit screwdriver in your workshop.
.jpg)
.jpg)

.jpg)

.jpg)
.jpg)

.jpg)


.jpg)
.JPG)
.jpg&container=blogger&gadget=a&rewriteMime=image%2F*)

+(640x480).jpg)
.jpg)

.jpg)
+(2).jpg)
.jpg)

.jpg)
.jpg)