
Wood expands and contracts because of the humidity changes. It shrinks and expands differently along the grain than perpendicular to the grain. With humidity swings there is a continuous expansion and contraction of the wood.
As a piano technician and woodworker I am always watching this. I built a moisture meter years ago and it hangs on the wall behind my drill press. I can see the pointer move daily, in the summer when it is humid the pointer moves to the right and the opposite in the winter.

How to Build
I will build one similar to my original design except this one will be larger.

This is the first one I made and its length is 14" and the new one will be L 20" x W 4-1/2" and D 1". To start I will build the back of the frame and for this I will be using solid oak. Plywood would work as well but I like the solid wood look.

I used my table saw sled to cut an oak plank, this will be for the back. The cross grain strip will run against the back of the frame so it has to run horizontal.


The lead weights were hammered into the holes I drilled out earlier, and then sanded down. This will make a weighted pointer that will help with its movement. Stain and lacquer were applied on the pointer and frame except for the spruce strip.

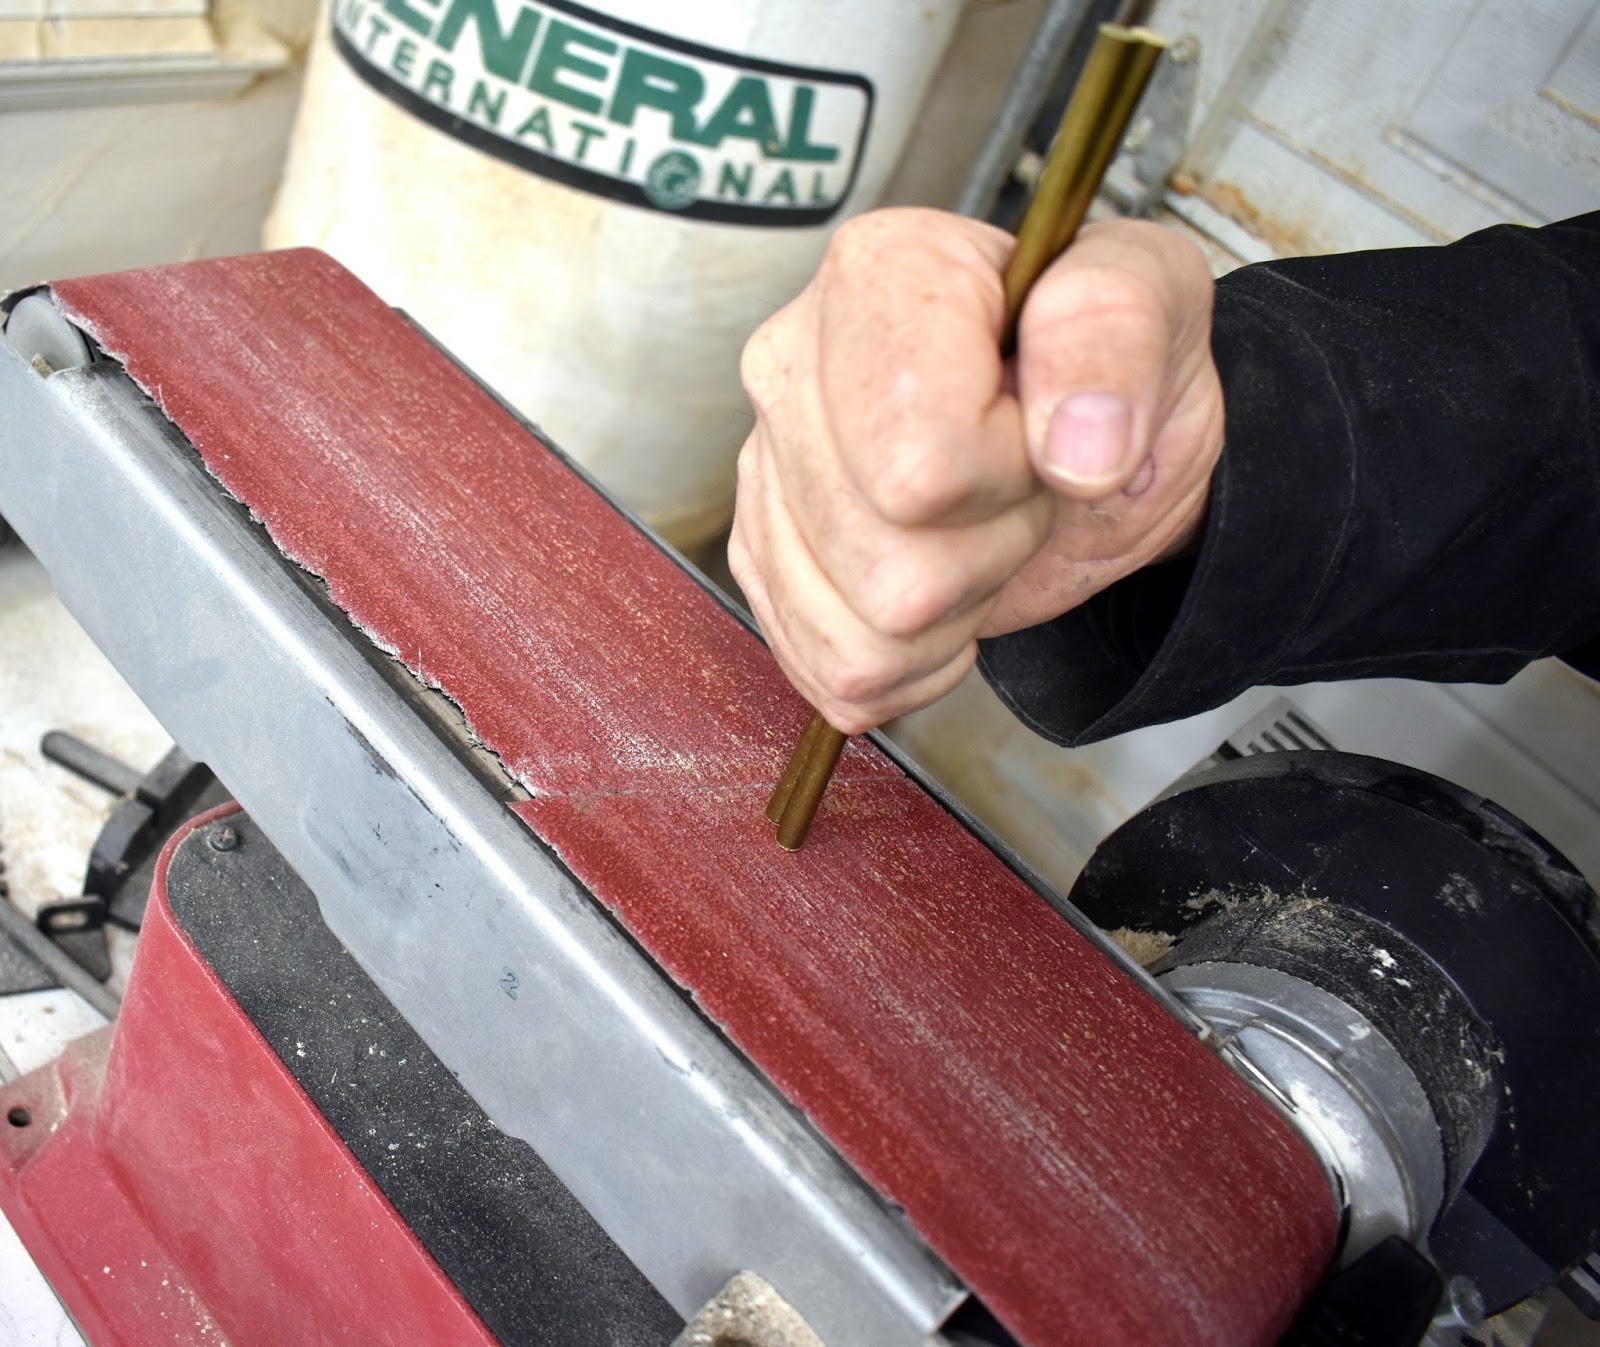
The cross grain spruce strip was cut from a panel I made a while back. I cut it to L 14" x W4 ". It was sanded smooth and no finish was put on this piece.

The adjustment screw is cut to the right size and then adjusted to the setting which is best for the pointer to sit in the middle of the gauge. It can be adjusted anytime depending on how much the pointer moves, you don't want it to move out of the frame.

The small stop block was put in the bottom of the frame and secured with 2 small screws.


The 2 gauges are sitting side by side as well as my hand held hygrometer to give me some readings. A piece of tape or cardboard can be used to mark the position of the pointer. The new one on the right one has 3 marks from 1 day of moving around the house.
Temperature Humidity
Inside house 21 C 64%
Workshop 14 C 67%
Outside 14 C 74%
Conclusion
I hang this moisture meter in my shop and can see how the humidity is changing throughout the year. The pointer can tell me the moisture content of the wood. Even though wood moisture is difficult to measure because of grain angles and grain density, this gives me an interesting visual on what's happening.
Do you measure your shop humidity or check your wood with different types of moisture meters?
As a piano technician and woodworker I am always watching this. I built a moisture meter years ago and it hangs on the wall behind my drill press. I can see the pointer move daily, in the summer when it is humid the pointer moves to the right and the opposite in the winter.

How to Build
I will build one similar to my original design except this one will be larger.

This is the first one I made and its length is 14" and the new one will be L 20" x W 4-1/2" and D 1". To start I will build the back of the frame and for this I will be using solid oak. Plywood would work as well but I like the solid wood look.


To cut a thinner board it was resawn with the table saw. This works fine but I would not go over 4 1/2 inches.
Making the channels

I installed my dado stack and was ready to make one cut on a small piece of scrap. This will later become 2 pieces to make the sides. The height of the blade was 12mm since the strip will be 10mm thick.

While the dado blade was in I was able to make several more cuts to the piece. These cuts will make the slots for the sides, and they will be for airflow, plus I think it looks better.

After the blade was changed back the piece was cut in half. This is an easy way to make 2 exact pieces.

I did some colourful clamping. These are the sides being glued to the back.
Making the pointer

A small block was screwed onto a board to safely make a tapered cut. The board will ride along the fence and give me a small tapered piece to make the pointer.

This is the other part of the pointer, it will have lead weights and 2 screws in it. One screw will be an adjustment screw and the other will hold the pointer to the frame.

The 2 pieces of the pointer are glued together.

The lead weights were hammered into the holes I drilled out earlier, and then sanded down. This will make a weighted pointer that will help with its movement. Stain and lacquer were applied on the pointer and frame except for the spruce strip.

The cross grain spruce strip was cut from a panel I made a while back. I cut it to L 14" x W4 ". It was sanded smooth and no finish was put on this piece.

The adjustment screw is cut to the right size and then adjusted to the setting which is best for the pointer to sit in the middle of the gauge. It can be adjusted anytime depending on how much the pointer moves, you don't want it to move out of the frame.


The 2 gauges are sitting side by side as well as my hand held hygrometer to give me some readings. A piece of tape or cardboard can be used to mark the position of the pointer. The new one on the right one has 3 marks from 1 day of moving around the house.
Temperature Humidity
Inside house 21 C 64%
Workshop 14 C 67%
Outside 14 C 74%
Conclusion
I hang this moisture meter in my shop and can see how the humidity is changing throughout the year. The pointer can tell me the moisture content of the wood. Even though wood moisture is difficult to measure because of grain angles and grain density, this gives me an interesting visual on what's happening.
Do you measure your shop humidity or check your wood with different types of moisture meters?


